If your WordPress site is missing it’s Cron Schedule first you need to check if the WordPress Cron is working at all when manually triggered.
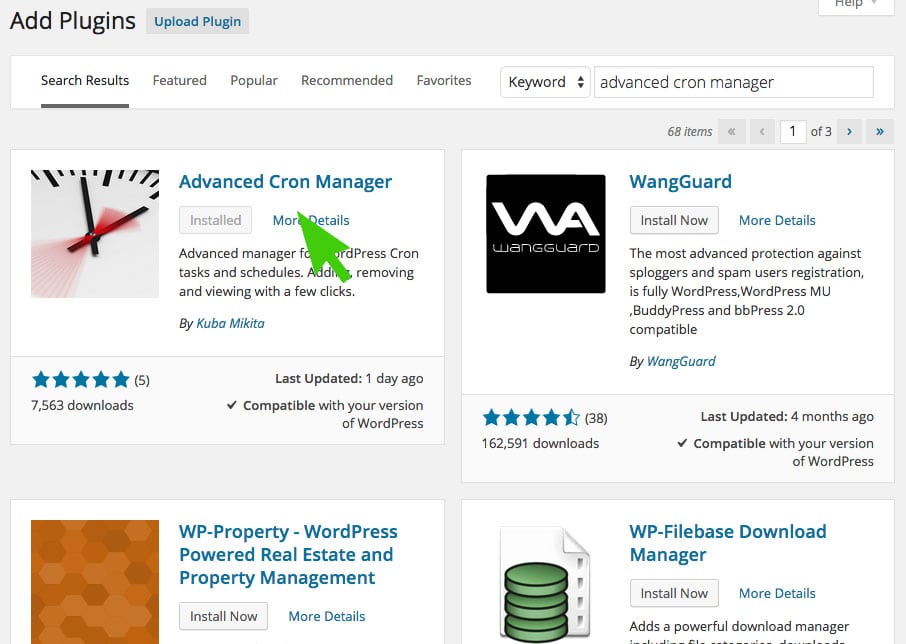
Step 1 – Install the Advanced Cron Manager plugin from the WordPress Repository
Step 2 – Run the WordPress Cron Job manually and see if the Cron Jobs clear up
To run the WordPress cron manually open a browser window and type this command:
http://yourwebsite.com/wp-cron.php?doing_wp_cron
Once the Cron Job has run the page will simply stop “Waiting” and go blank.
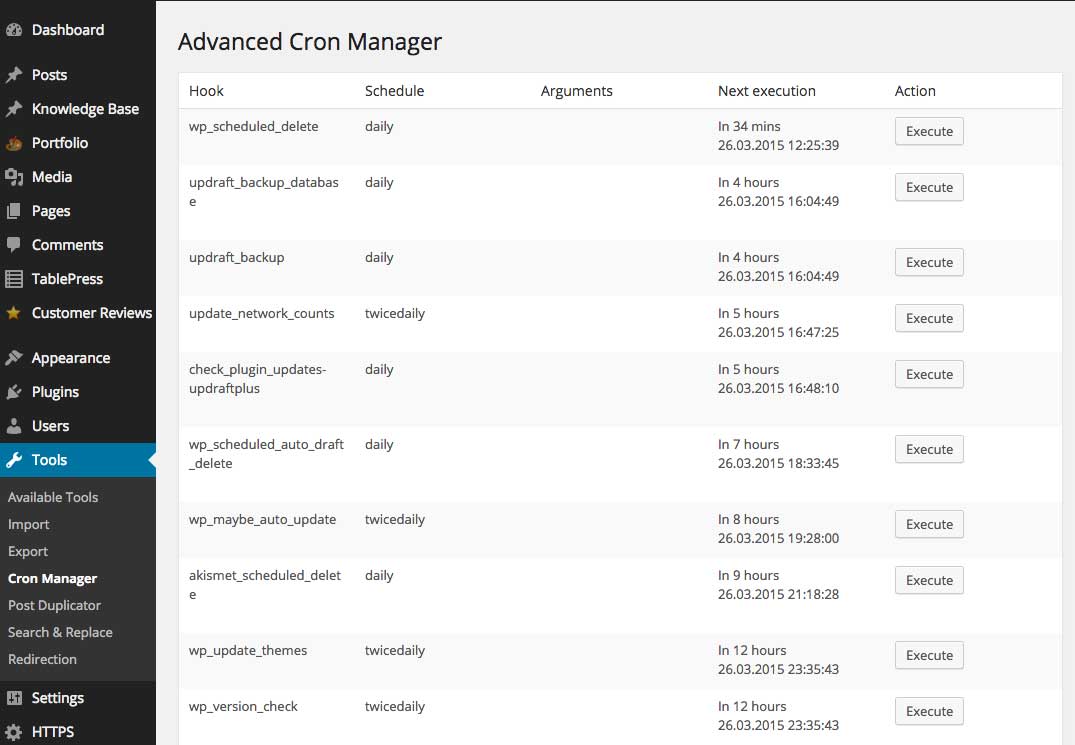
Now view the Cron Jobs outstanding in Advanced Cron Manager and see if they have cleared up.

If the Cron Jobs have cleared up we now know that the WordPress Cron is working properly, it’s just not scheduling. The easiest fix for this if your website is running on CPanel is to disable the problematic WordPress Cron and schedule the CPanel cron.
NB: If the list doesn’t change you’ll need to troubleshoot further your WordPress installation.
Step 3 – Disable WordPress Cron
FTP in to your server and add this line to the wp-config.php file:
define('DISABLE_WP_CRON', 'true');
Step 4 – Enable the CPanel Cron
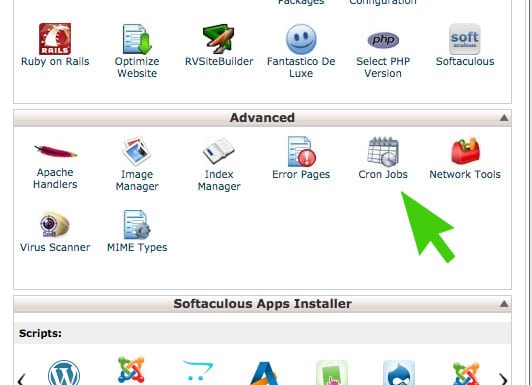
Log in to your CPanel and find the Cron Jobs menu item
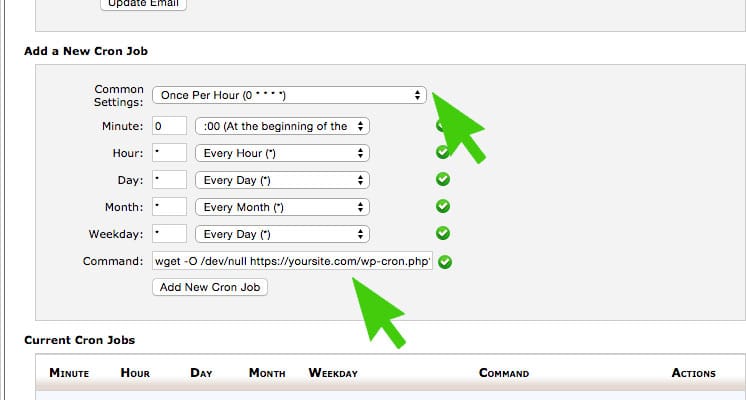
Scroll down to “Add a New Cron Job” and under the common settings tab choose how often you want to run the Cron
Enter the following in to “Command”
wget -O /dev/null http://yoursite.com/wp-cron.php?doing_wp_cron
Click on the “Add New Cron Job” button.
Finished. Now the problematic WordPress Cron has been disabled and the CPanel Cron has been scheduled.


