In this article we are going to show you how to take a screenshot (or parts of the screen) in Windows 7 and Windows 8 using the built in Snipping Tool. You can use the Snipping Tool in all version except the Starter and Basic Editions.
Step 1. Open the Snipping Tool
Windows 7 – Click on Start, Select All Programs, Select Accessories and then Select Snipping Tool
Windows 8 – Press the Windows Key, start typing Snipping Tool and select it on the right hand side from the search results.
Step 2. Choose the Type of Snip
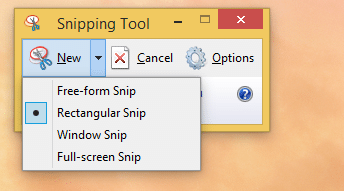
Clicking on the drop down arrow next to New you can choose the type of Screenshot you wish to make.
Free-Form Snip – Once you have selected this simply hold down your mouse and draw a line around what you want to take a screenshot of.
Rectangular Snip – Click in the top left hand corner of what you want to take a screenshot of and drag right and down. Release.
Windows Snip – Click inside the window or program you wish to take a screenshot of.
Full-Screen Snip – As soon as you select this it will take a screenshot of your whole screen
Step 3. Save or Send your Screenshot
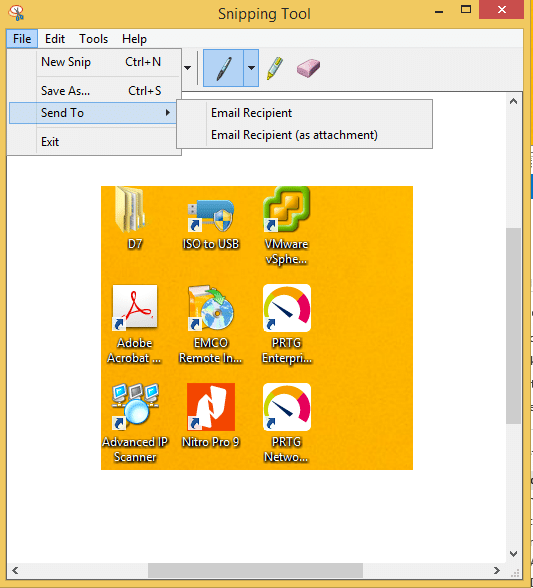
From the screenshot which is taken click on File. You can then choose either Save as to save the file to your computer or Send To and email it to someone.


